Studio Apartment Layout: Zoning One Room Into Four
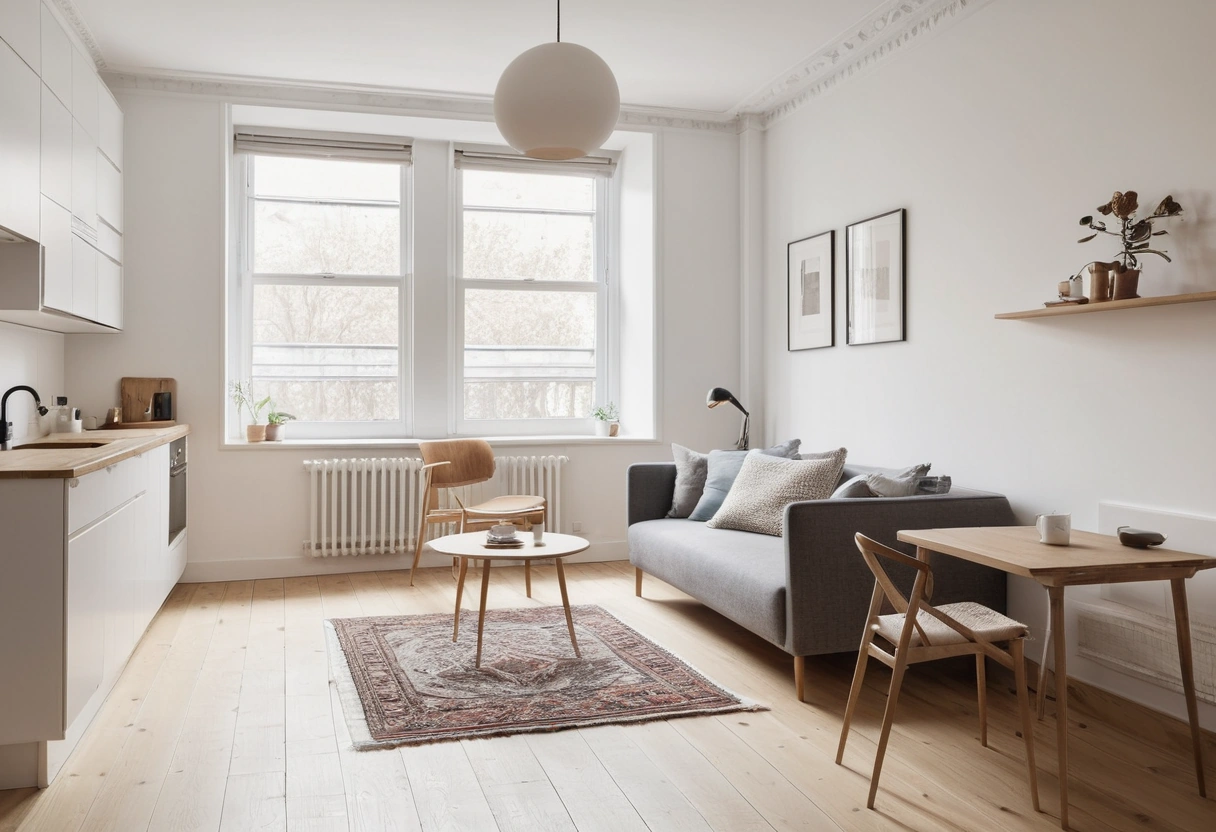
One room becomes four when you zone it: sleep, living, work, eating. The working numbers: a queen bed needs a 7-by-9-foot sleep zone, a seating group about 8 by 8 feet, a desk corner 4 by 5, a table for two 5 by 5, and one straight 30-to-36-inch path from the door to the window that no zone is allowed to cross.
The four zones and their real footprints
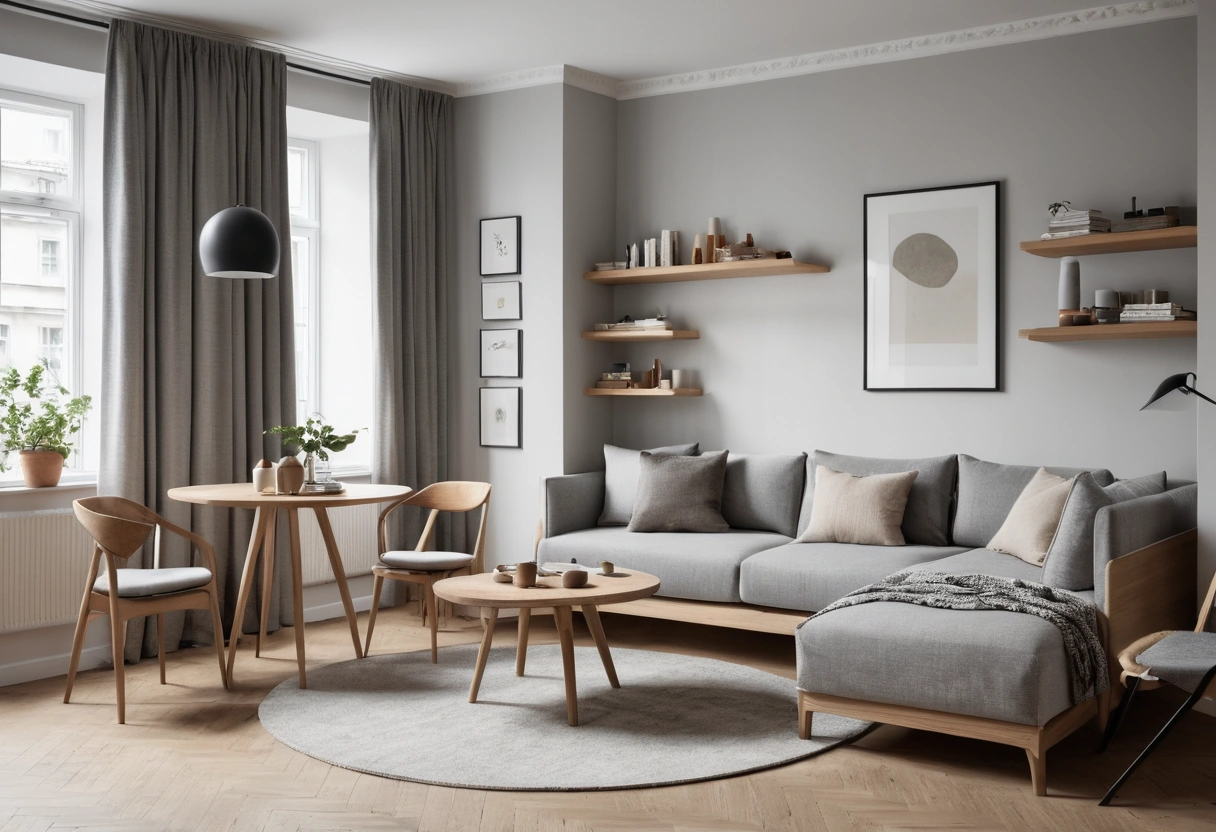
Studio plans fail when zones are drawn wishfully. Give each one its true footprint: the furniture plus the clearance to actually use it.
| Zone | Working footprint | What’s inside |
|---|---|---|
| Sleep | 7 by 9 ft | 60-by-80-in. queen plus a 24-in. dressing strip |
| Living | 8 by 8 ft | 72-in. sofa, one chair, side tables |
| Work | 4 by 5 ft | 40-by-20-in. desk plus chair push-back |
| Eating | 5 by 5 ft | 30-to-36-in. table, two chairs pulled out |
That adds up to roughly 190 square feet of zones. In a 450-square-foot studio it leaves breathing room; in a 320-square-foot one, zones must double up. The standard merges: the eating table takes the work shift, or the sofa takes the sleep shift. Merging is exactly where convertible pieces earn their price, and we sort what multifunctional furniture to buy in its own guide.
One more sizing rule: the living zone gets furnished like a small living room, not a scaled-down large one. The exact sofa and chair dimensions are in our small living room furniture guide.
Where the bed goes: three placements that work
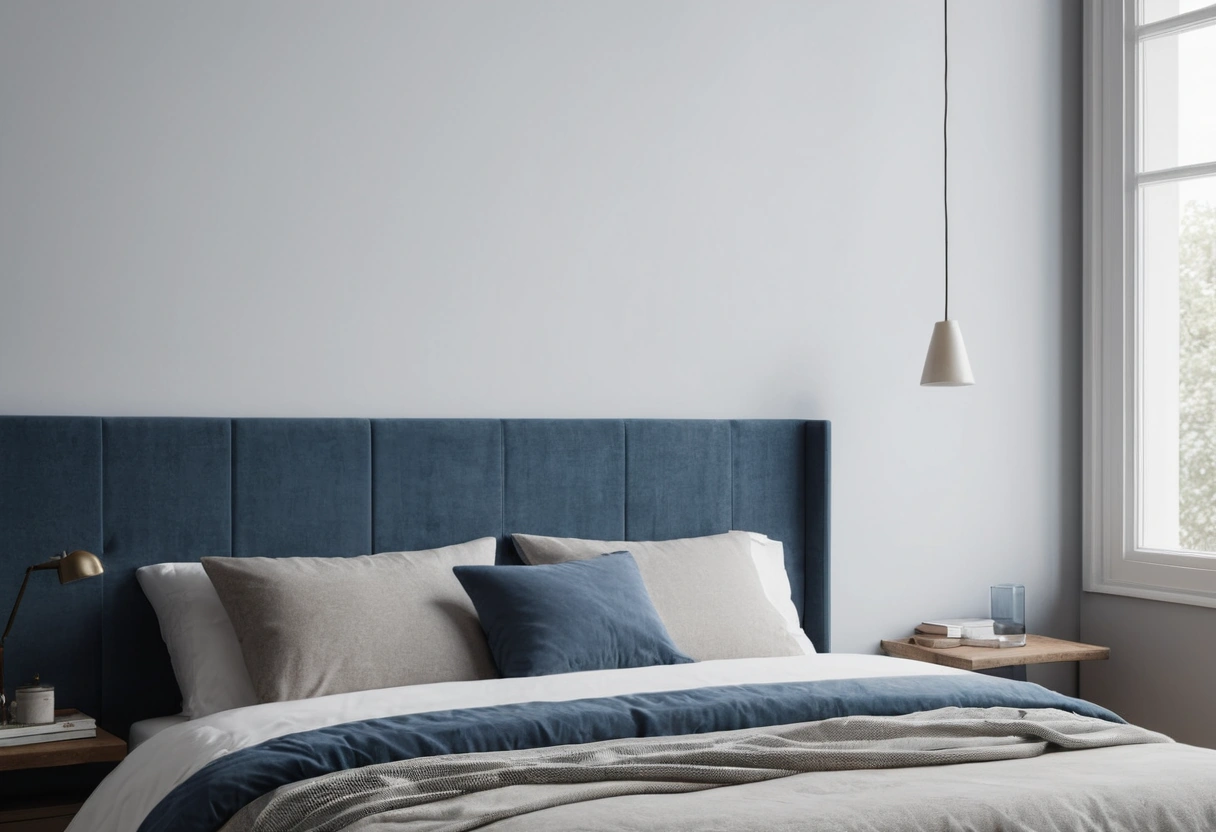
The bed is the biggest object and the most private function, so place it first and let everything else negotiate.
- The far corner. Past the window line, headboard on the short wall, as far from the door as the plan allows. Quietest option, and the one that keeps the bed out of the first view from the entry. Hold 24 inches along the open side for dressing; the full set of walkway numbers around a bed is in our bedroom clearance guide.
- Floated behind a divider. The bed sits mid-room with a shelving unit or screen at its foot or side. It spends more floor area but produces a real “bedroom” and a real “living room” instead of one blurred space.
- The alcove or wall bed. If the studio has a nook even 7 feet wide, the bed owns it. No nook? A wall bed folds the whole sleep zone away by 8 a.m., which is the strongest case there is for buying one.
Dividers with dimensions: shelving, curtains, rugs
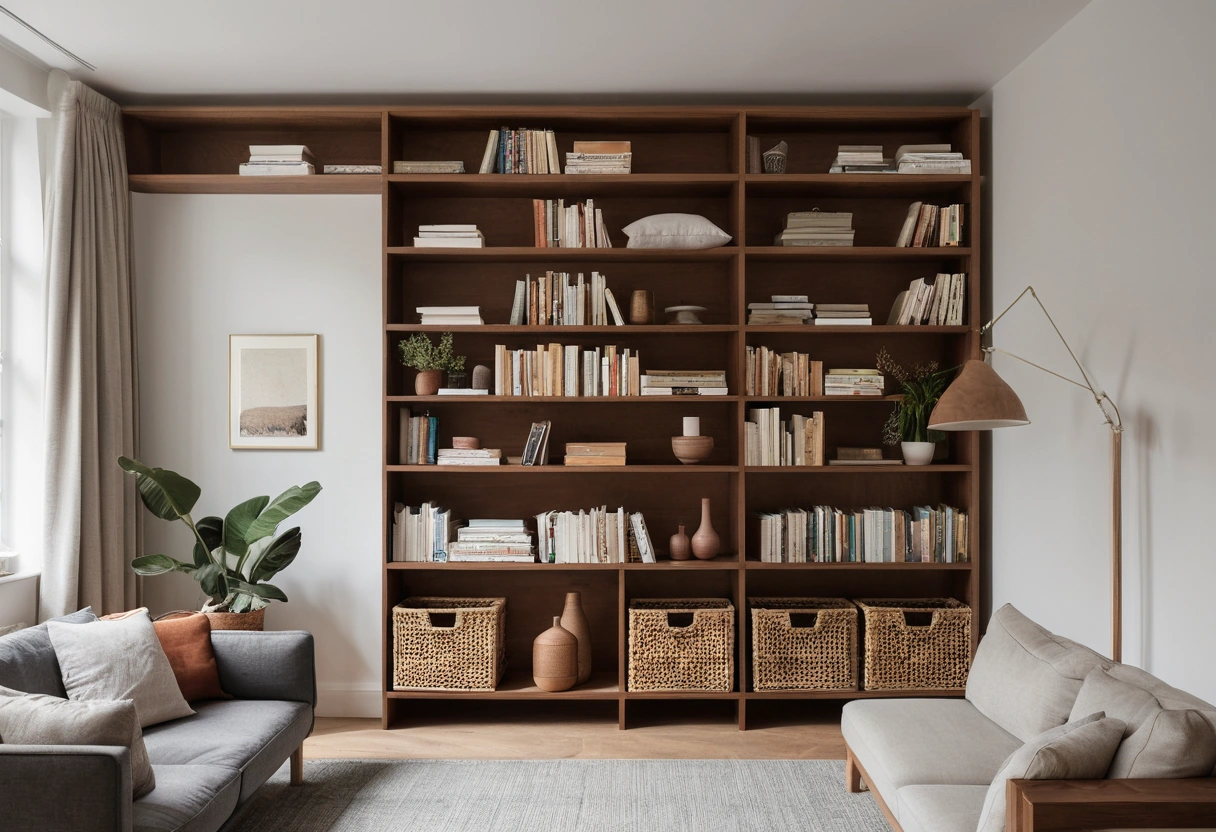
- Open shelving. The workhorse. A unit 72 to 84 inches tall, 12 to 16 inches deep, and at least 36 inches wide reads as a wall while passing light through its open back. It also absorbs the storage a studio never has enough of. Anchor tall units to the wall or ceiling.
- Curtains. A ceiling-mounted track with floor-to-ceiling fabric divides at nearly zero footprint: the stack takes about 4 to 6 inches when open. Order panels at 1.5 to 2 times the track length so the curtain hangs in folds instead of stretching flat.
- Rugs. The zero-height divider. A rug marks a zone by contrast alone: an 8x10 under the seating group, a 5x8 beside the bed. Size each rug to its furniture group using standard rug sizes, and let the bare floor between rugs read as the “hallway.”
Skip permanent half-walls in a rental, and skip anything solid above 60 inches near a window; blocking daylight costs more atmosphere than any zone gains. If two dividers feel necessary, use one tall one and one rug; stacking multiple tall dividers in a single room rebuilds the warren the studio was knocked open to avoid.
Protect one circulation path
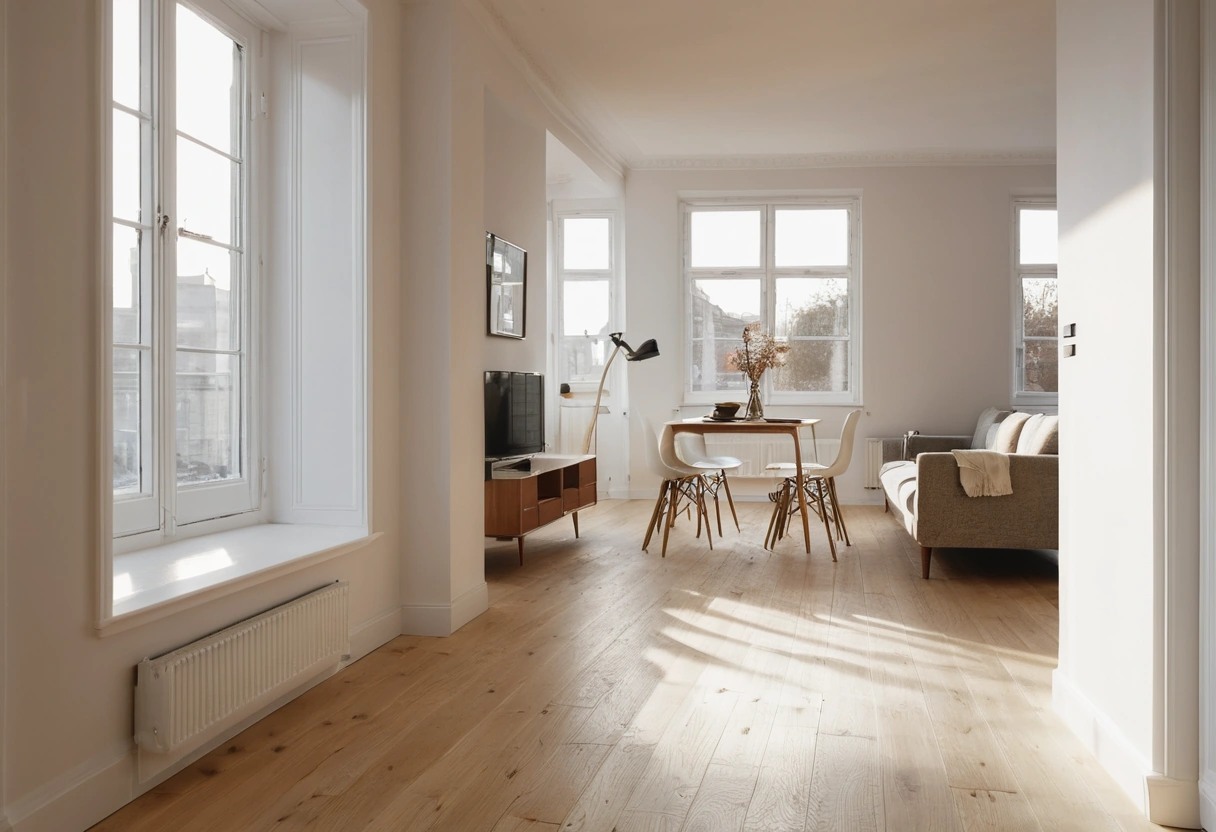
Draw the path before placing a single piece: door to window, 30 inches wide minimum, 36 for comfort, straight or with one turn. Every zone touches the path; no zone’s furniture crosses it. When a chair back or a bed corner pokes into the walkway, the whole studio feels overstuffed no matter how little you own.
The path starts at the door, and the first 4 square feet of it are the entry: a hook rail, a slim shelf, a landing spot for keys. That tiny zone is its own discipline, covered in small entryway ideas.
Light finishes the zoning that furniture starts. Give each zone its own source at its own height: a floor lamp by the sofa, a desk lamp in the work corner, a small lamp or sconce at the bed, a pendant or ceiling fixture over the table. With the overhead off and two lamps on, the lit zones read as separate rooms after dark, which is when a studio most needs the illusion. Put the bed lamp on its own switch you can reach lying down.
The zoning checklist
- List your four zones; cut the one you honestly won’t use before you plan.
- Give each zone its full footprint from the table above, on paper, at scale.
- Place the bed first: far corner, floated with a divider, or folded into a wall unit.
- Choose dividers by budget of inches: shelving 12 to 16, curtain 4 to 6, rug zero.
- Keep one 30-to-36-inch door-to-window path clear of all furniture.
- Merge zones with convertible pieces only where the room forces it, not by default.
A zoned studio lives like a small apartment. An unzoned one lives like a dorm, whatever the square footage says.