Ceramic vs. Porcelain Tile: Where Each Belongs, and Why
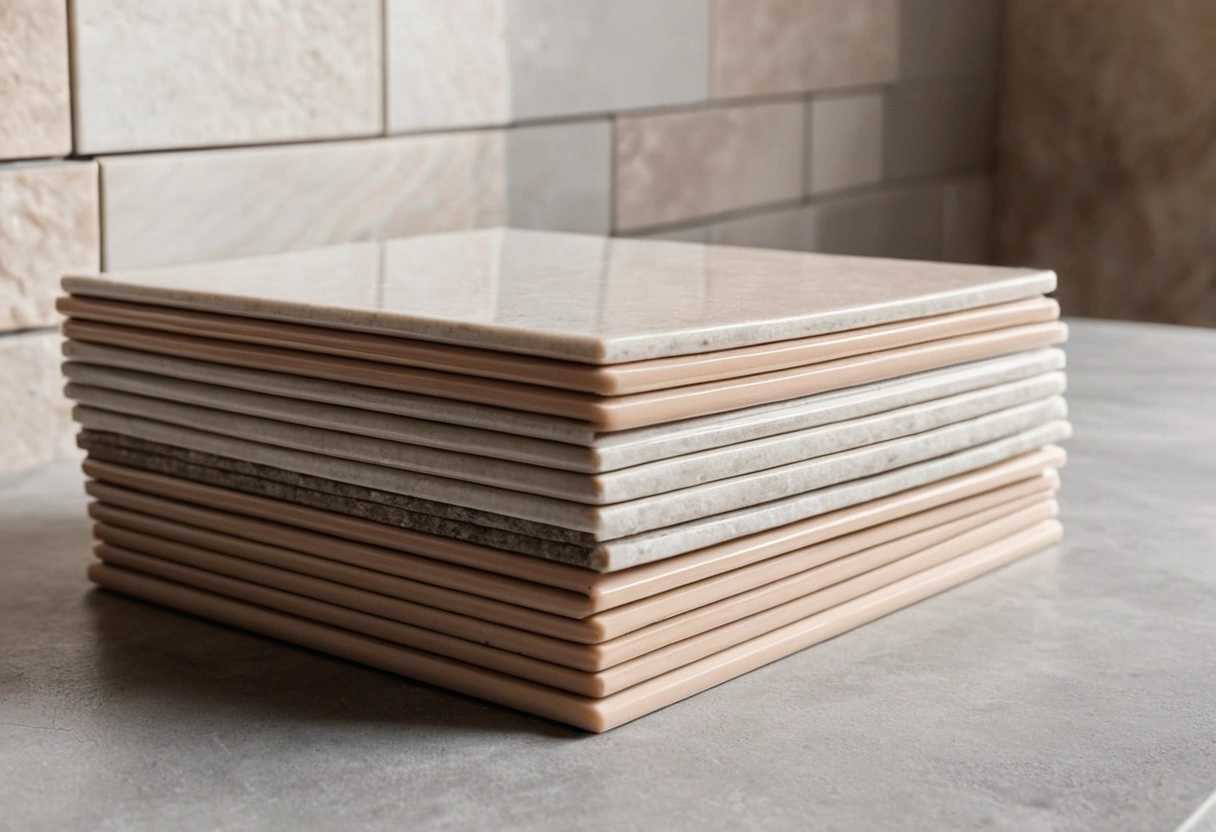
Porcelain is ceramic fired denser: it absorbs 0.5 percent water or less, wears harder, and belongs on floors, in showers, and outdoors. Standard ceramic absorbs more, costs less (typically $1 to $8 per square foot for material against porcelain’s $3 to $12), and cuts far more easily, which makes it the DIY pick for walls and backsplashes. Match the tile to the surface and the traffic, not the label.
Density and water absorption: the real difference
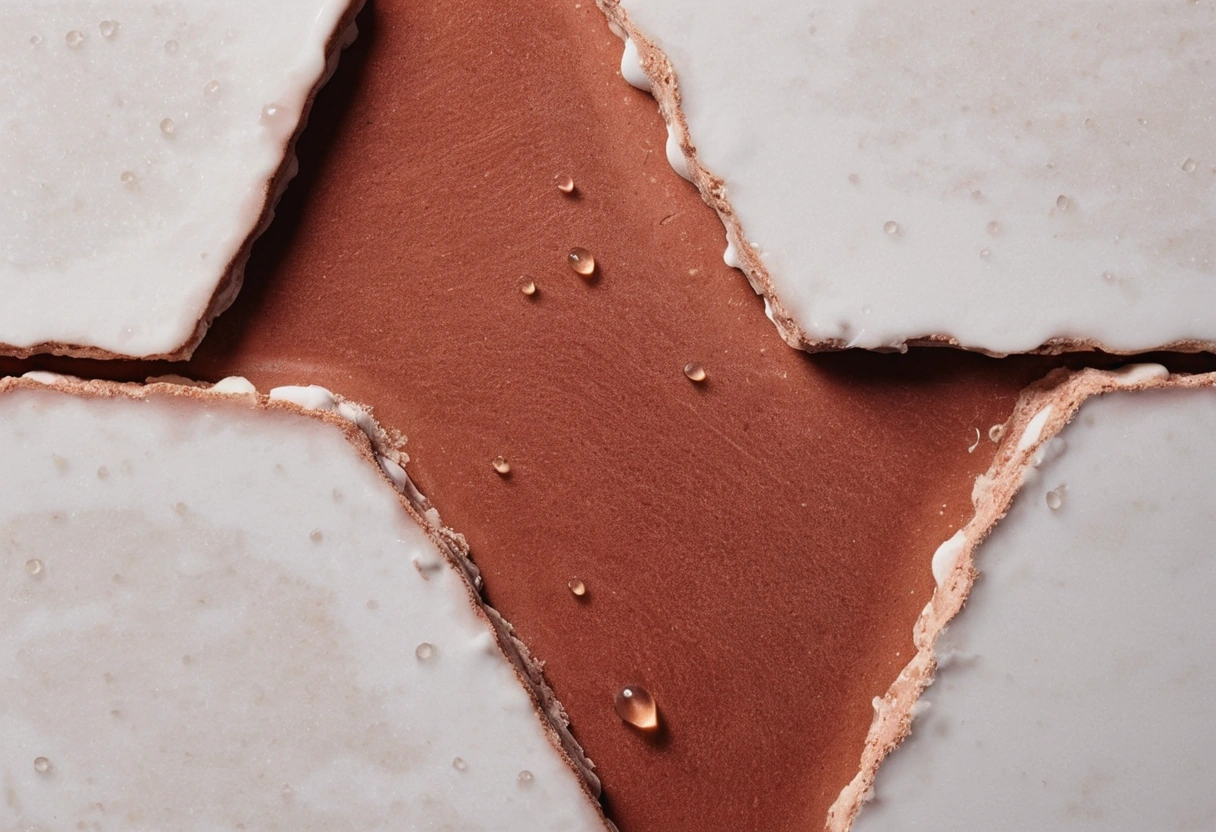
Both are kiln-fired clay. Porcelain uses finer clays pressed harder and fired hotter, around 2,300°F versus roughly 2,000°F for standard ceramic, and it comes out denser. The dividing line is water absorption: to be sold as porcelain under the industry certification standard, a tile must absorb 0.5 percent or less of its weight in water. Ordinary ceramic can absorb several percent.
That one number decides where tile can live. At 0.5 percent or below, tile survives freeze-thaw cycles outdoors and daily shower soakings without trouble. Density also changes how damage reads: many porcelains carry color through the body or close to it, so a chip shows a similar tone, while a chipped glazed ceramic flashes white or red clay.
PEI wear ratings, decoded
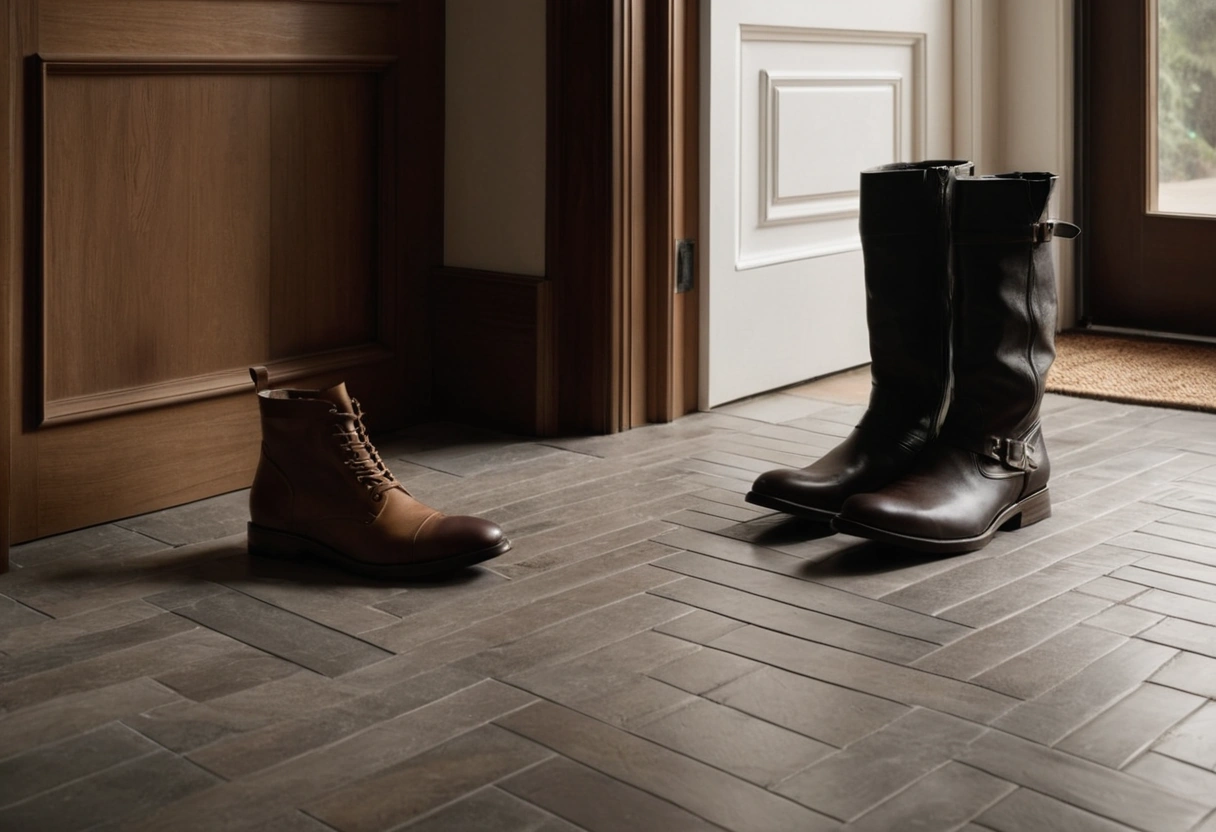
The PEI number on the box grades the glaze’s abrasion resistance on a 1 to 5 scale:
| PEI | Rated for |
|---|---|
| 1 | Walls only |
| 2 | Light-traffic floors: baths, bedrooms |
| 3 | All residential floors |
| 4 | Heavy residential, light commercial |
| 5 | Commercial traffic |
For a family home the floor minimum is PEI 3, with PEI 4 the smarter buy in entries, mudrooms, and kitchens where tracked-in grit acts like sandpaper. Wall tile can be any rating, since nobody walks on it. One catch: PEI grades the glaze, not the body, so a PEI 4 ceramic can outwear a PEI 3 porcelain at the surface even though the porcelain body underneath is stronger.
Floors, walls, and showers: where each belongs
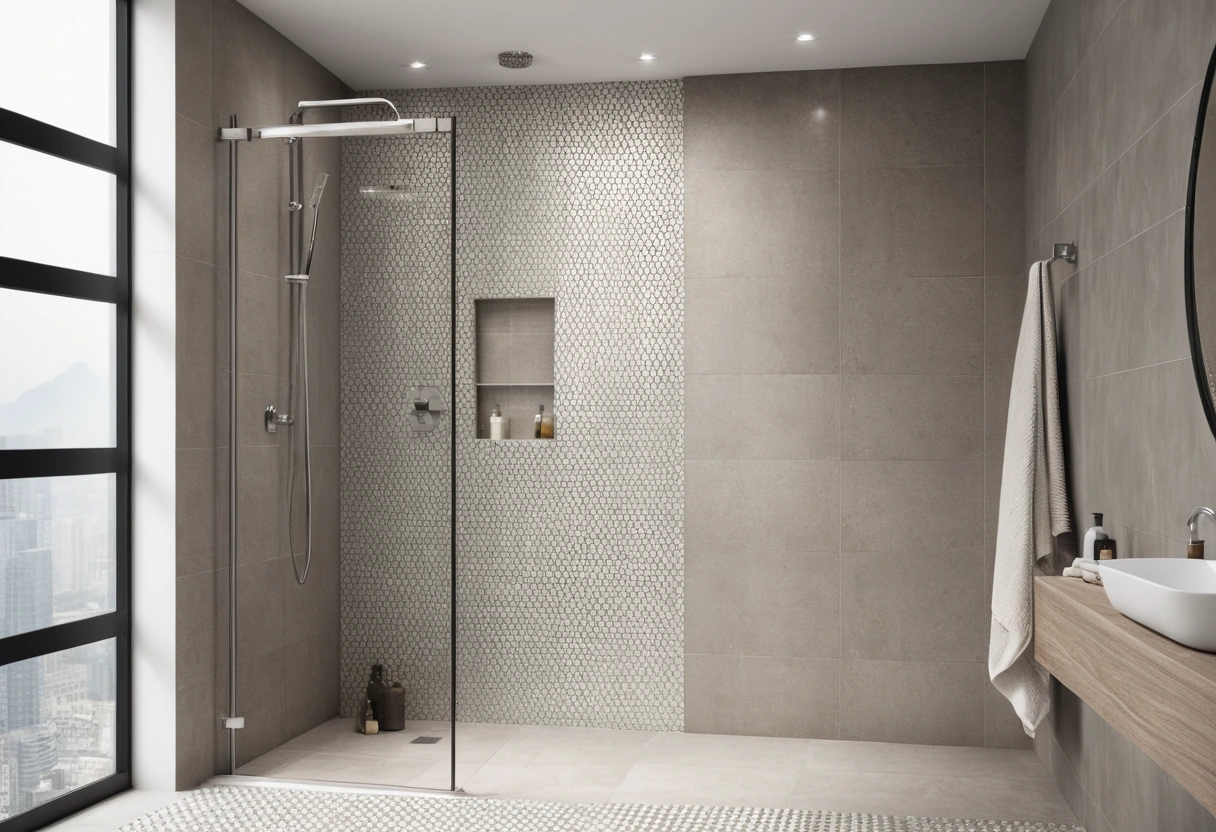
Floors and wet zones take porcelain. On bathroom floors and shower walls the absorption number is the whole argument; if you’re replanning the room at the same time, work the tile layout against the fixture spacing in our small bathroom clearances guide. Entry and mudroom floors add the grit problem, so pair porcelain with a PEI 4 glaze and the drop-zone logic in our entryway design guide. Wood-look porcelain plank is also tile’s answer to the question we weigh in hardwood vs. LVP flooring: it outwears both, at the price of a colder, harder, louder floor.
Walls are ceramic country. A backsplash or tub surround sees zero foot traffic, so the money goes to looks, and ceramic is lighter, cheaper, and far easier to cut around outlets and valves. It plays a supporting role too: pick a backsplash only after the slab, the sequencing our countertop comparison argues for, and remember that glossy wall tile flanking a bathroom mirror quietly boosts the vanity lighting that lands on your face.
Outdoors, use porcelain only, and in freeze climates confirm the frost rating on the spec sheet.
One more spec matters wherever floors get wet: slip resistance. The wet-floor convention in the tile trade is a DCOF rating of 0.42 or higher. Polished porcelain usually misses that mark, while matte and textured finishes clear it, so a gorgeous glossy floor tile can be the wrong tile for the same room’s shower. The rating sits on the spec sheet next to absorption; read both.
The price gap, and why installation flips it
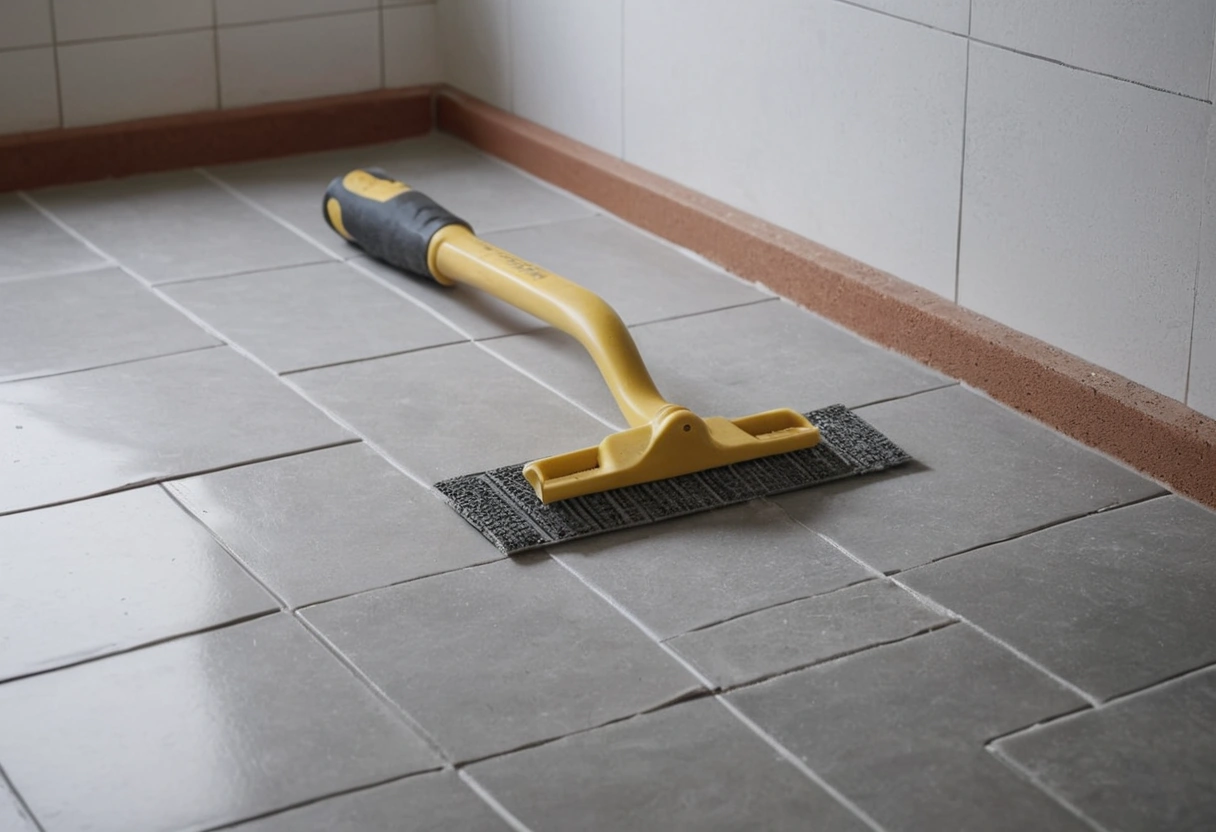
Material typically runs $1 to $8 per square foot for ceramic and $3 to $12 for porcelain, with large formats and specialty shapes above that in both camps. Professional installation typically adds $5 to $15 per square foot depending on substrate prep and layout, which means the labor often costs more than the tile. That flips the value math. On a pro job, stepping up from ceramic to porcelain might move the total 10 to 20 percent, cheap insurance on a floor meant to last decades. On a DIY backsplash, ceramic’s low price and easy cutting keep a weekend project inside the weekend.
Cutting, rectified edges, and grout lines
Ceramic scores and snaps in a $30 to $60 manual cutter, and a carbide bit drills it. Porcelain fights back: plan on a wet saw with a fresh diamond blade, a slow feed, and a few sacrificial tiles for the learning curve. Notches and hole cuts are where DIY porcelain jobs stall.
Edges decide your grout lines. Rectified tile is ground square after firing, so joints can shrink to 1/16 to 1/8 inch for a near-continuous plane. Standard pressed edges vary enough that the working convention is a 3/16 inch joint to absorb the differences. Tight joints demand a flat substrate and careful setting; wider joints in sanded grout forgive both. Large-format tile, anything with a side over about 15 inches, adds its own demands: a flatter floor, medium-bed mortar, and joints no tighter than 1/8 inch. Either way, order from a single dye lot, because a later batch rarely matches.
The buying checklist
- Shower, steam, or outdoor tile: porcelain at 0.5 percent absorption or less.
- Kitchen, entry, and mudroom floors: porcelain, PEI 4.
- Bedroom and bath floors: PEI 3 is enough.
- Backsplash and tub surround: ceramic, and spend the savings on the design.
- Hand tools only: ceramic. Renting a wet saw puts porcelain back on the table.
- Tight modern joints: rectified edges, 1/16 to 1/8 inch grout, dead-flat substrate.
- Every order: 10 to 15 percent extra, one dye lot.