Recessed Lighting Spacing: How Many Cans, How Far Apart
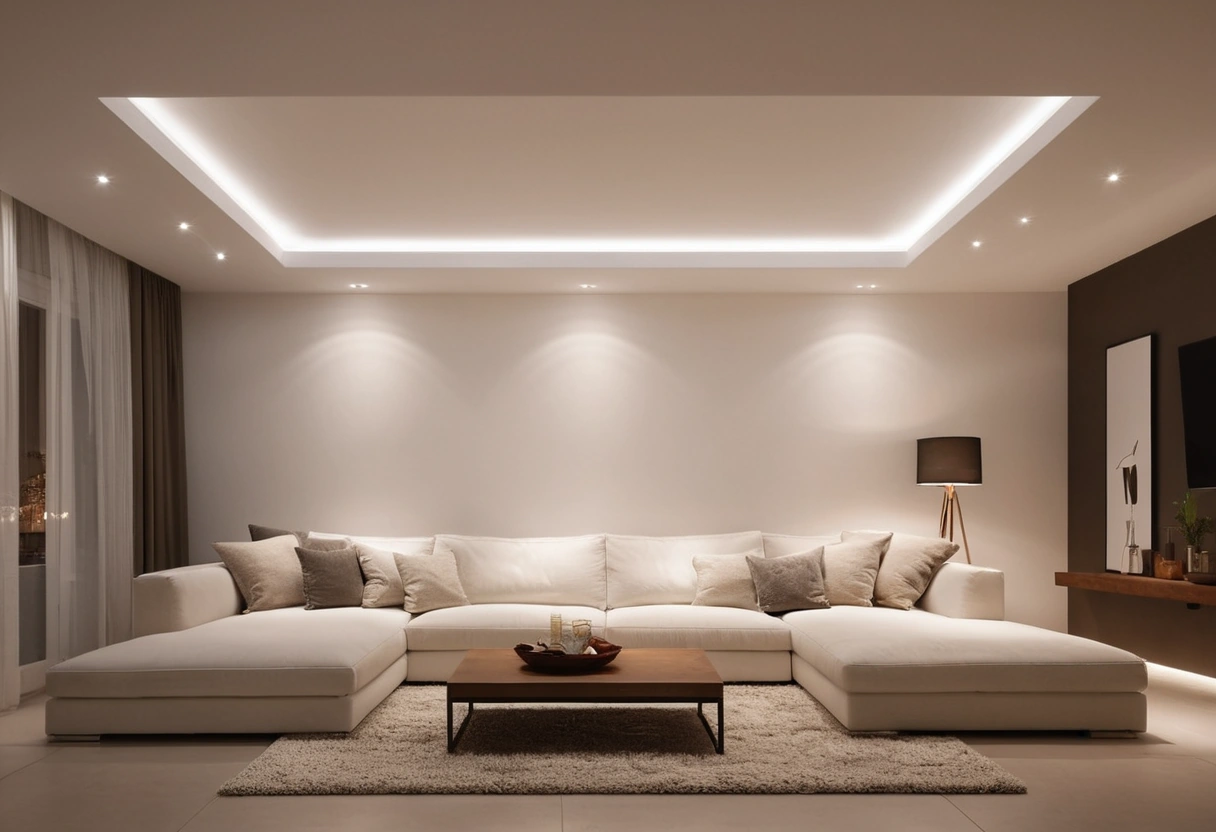
The working rule: divide ceiling height by two to get the distance between recessed cans. Under an 8 foot ceiling, set cans about 4 feet apart; under a 10 foot ceiling, 5 feet. Keep the outer row 2 to 3 feet from the walls, and set the total count from the room’s lumen needs, not from a grid drawn on the ceiling.
The half-height rule for spacing
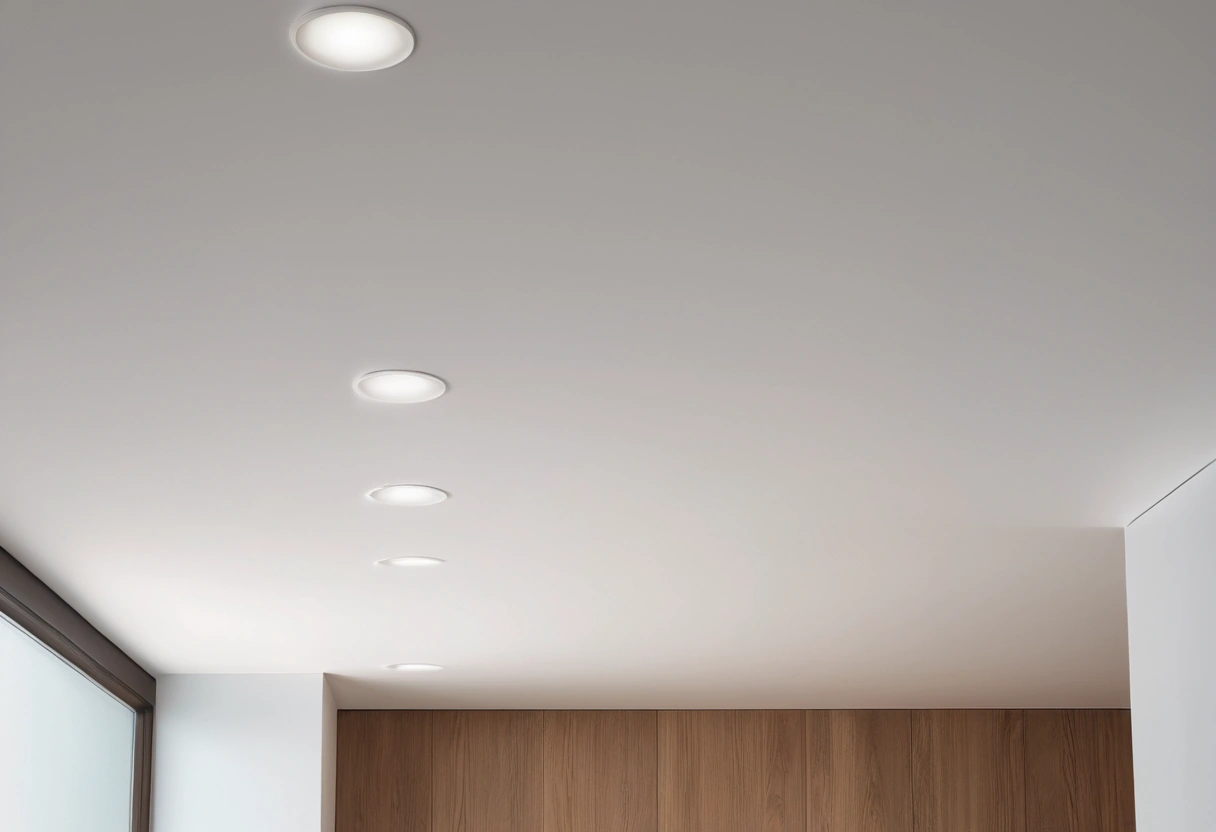
Recessed downlights throw a cone of light that widens as it falls. Space the cans at half the ceiling height and the cones overlap around counter and table height, exactly where you want even coverage. Space them wider and you get bright circles on the floor with dim scallops between them.
| Ceiling height | Spacing between cans | Outer cans from wall |
|---|---|---|
| 8 ft | 4 ft | 2 ft |
| 9 ft | 4.5 ft | 2 ft 3 in |
| 10 ft | 5 ft | 2 ft 6 in |
| 12 ft | 6 ft | 3 ft |
Treat the rule as a maximum, not a mandate: it describes the widest spacing that still gives even general fill. Cans doing task duty over a counter or desk go where the task is, whatever the grid says. The rule also assumes wide-beam trims; narrow 25 to 40 degree beams are accent tools that follow aiming logic, not spacing charts.
Distance from walls, and why it matters
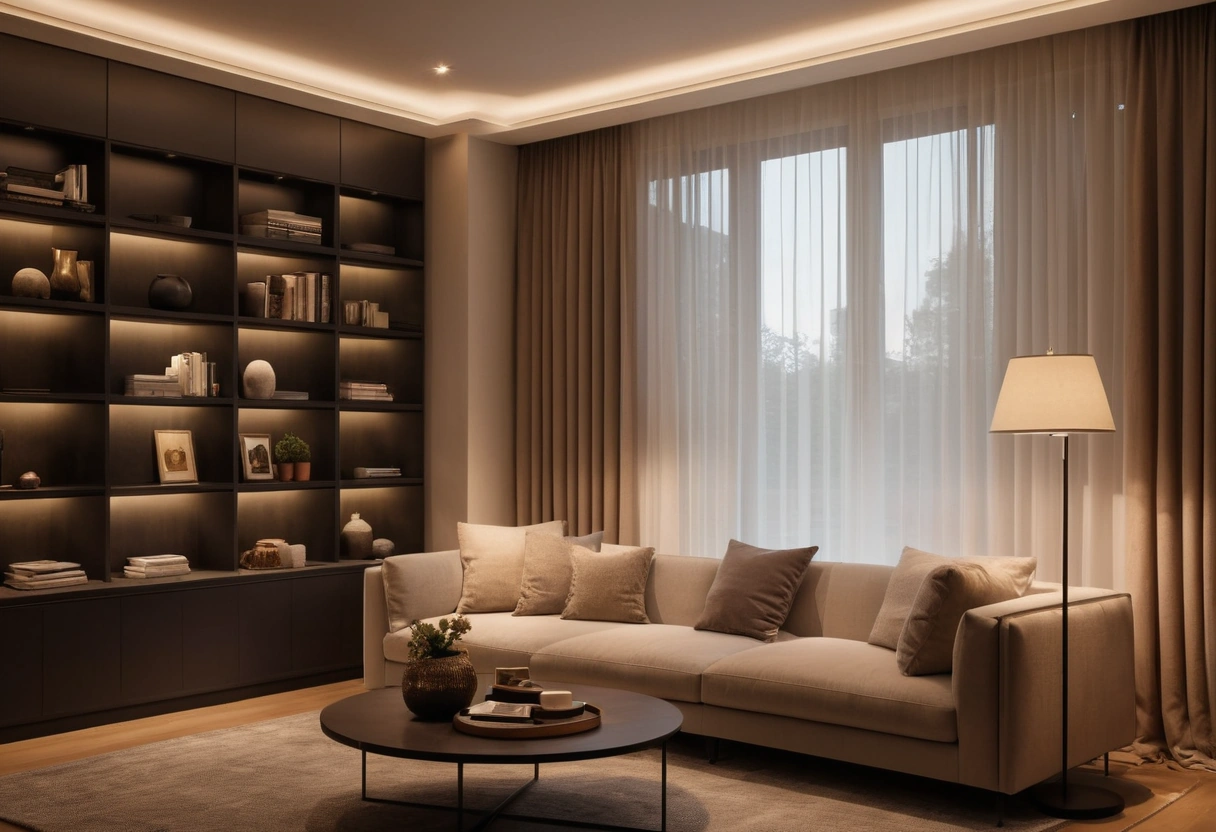
The convention: outer cans sit at half the spacing distance from the wall, which lands at 2 to 3 feet under most ceilings. Get closer, around 18 to 24 inches, and the light grazes the wall instead: a deliberate wall-wash that brightens the whole room, because the eye judges brightness from vertical surfaces far more than from floors.
Kitchens break the wall rule on purpose. Center cans over the front edge of the counter, roughly 24 inches from the wall, so the cook isn’t chopping in their own shadow. Hallways run simpler: one can every 6 to 8 feet down the centerline is the working convention, tightened toward 6 under low ceilings.
Wall color changes the budget too. Deep matte walls absorb much of what hits them, and a room painted that way needs meaningfully more output; the tradeoffs are covered in dark paint in small rooms.
How many cans: count lumens, not holes
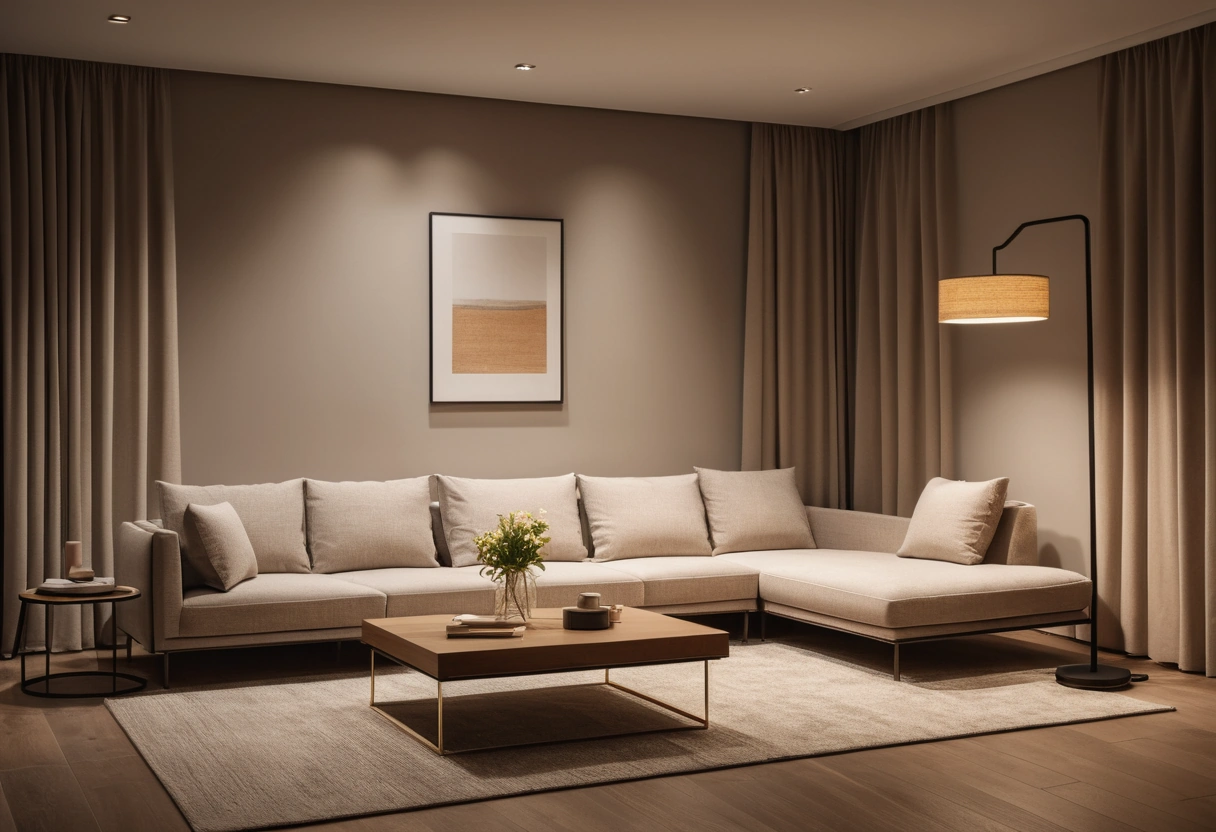
Work backward from output. Multiply the room’s square footage by its target level from the room lumen cheat sheet, then divide by the output of one can. Retrofit LED modules and wafer lights run 600 to 1,200 lumens each; 800 is a fair planning number.
Two worked examples. A 12 by 16 living room at 15 lumens per square foot needs about 2,900 lumens: four cans, or fewer if lamps carry part of the load, which they should. A 10 by 15 kitchen at 35 lumens per square foot needs about 5,250: six or seven cans, plus counter task light the cans can’t provide.
Lay the count into rows parallel to the room’s long walls, then nudge individual cans to line up with what sits below them. Nobody reads spacing to the inch from the floor, but everyone notices a can half on and half off the line of a cabinet run.
Avoiding the grid-of-holes ceiling
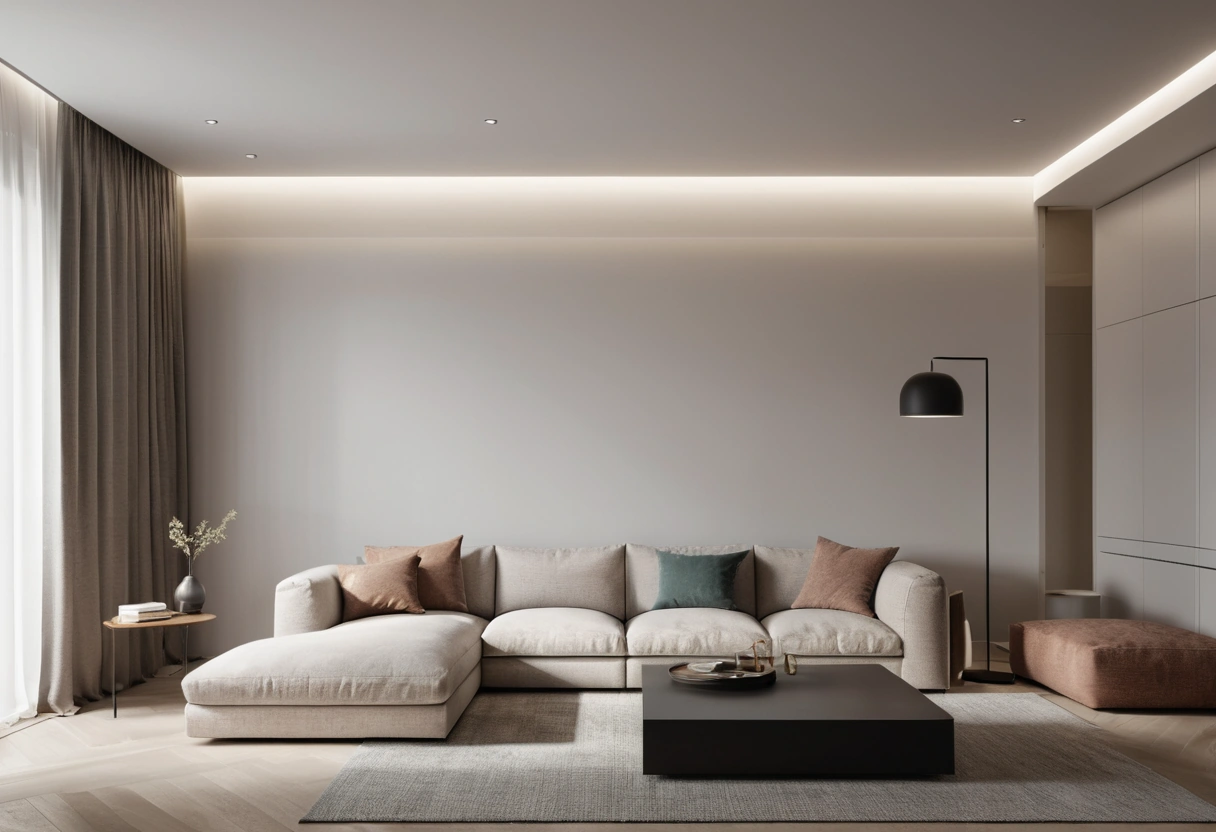
The failure mode is familiar: sixteen cans in a parade-ground grid, a ceiling that looks shot full of holes, and a room that still feels dead because everything is lit and nothing is emphasized. The fixes:
- Place cans relative to what’s under them: counter edges, the seating group, the art wall. Symmetry with the furniture beats symmetry with the drywall.
- Use 4 inch or smaller apertures with regressed trims that tuck the glare up into the ceiling. Same light, half the visual hole.
- Let lamps and pendants carry part of the ambient load so the can count drops; that division of labor is the core of layered lighting.
- In kitchens, run cans for general fill and hang pendants over the island for the task zone instead of doubling the can rows.
- Leave quiet ceiling. A hallway with washed walls doesn’t need a can every 4 feet, and sloped ceilings take gimbal trims aimed down the slope rather than extra units.
- In bedrooms, keep cans off the pillow line. Nobody wants a downlight in the eyes from bed; ring the room’s edges and let bedside lamps handle the middle.
Wattage equivalents and what to buy
Old recessed cans took 65 watt BR30 floods, about 650 lumens; 75 watt halogens ran about 1,100. LED replacements deliver the same light for 8 to 13 watts, so “65 watt equivalent” on the box means roughly 650 lumens, and the lumen number is the one to trust. Existing housings convert with screw-in retrofit kits in minutes; new wafer lights skip the housing entirely and fit where joists are tight.
The spec list that matters: one color temperature across the whole ceiling, 2700K or 3000K in living spaces, with the tradeoffs in bulb color temperature; CRI 90 or better; IC rating wherever insulation touches the housing; a wet rating over showers; and an LED-compatible dimmer, because cans at full blast are for cleaning day, not for living. Check the dimmer’s minimum load, too: a pair of 9 watt LEDs on an old incandescent dimmer will flicker at the bottom of the range.
Layout checklist
- Spacing between cans: half the ceiling height.
- Outer row: half the spacing from the wall, or 18 to 24 inches out to wash the wall.
- Kitchen counters: cans over the counter’s front edge, about 24 inches from the wall.
- Count from lumens: square footage times the room’s target, divided by about 800 per can.
- 4 inch apertures, regressed trims, one Kelvin rating across the ceiling.
- Cans for fill, other layers for task and accent, dimmers on all of it.