Color Drenching: One Color, Walls to Ceiling, Done Right
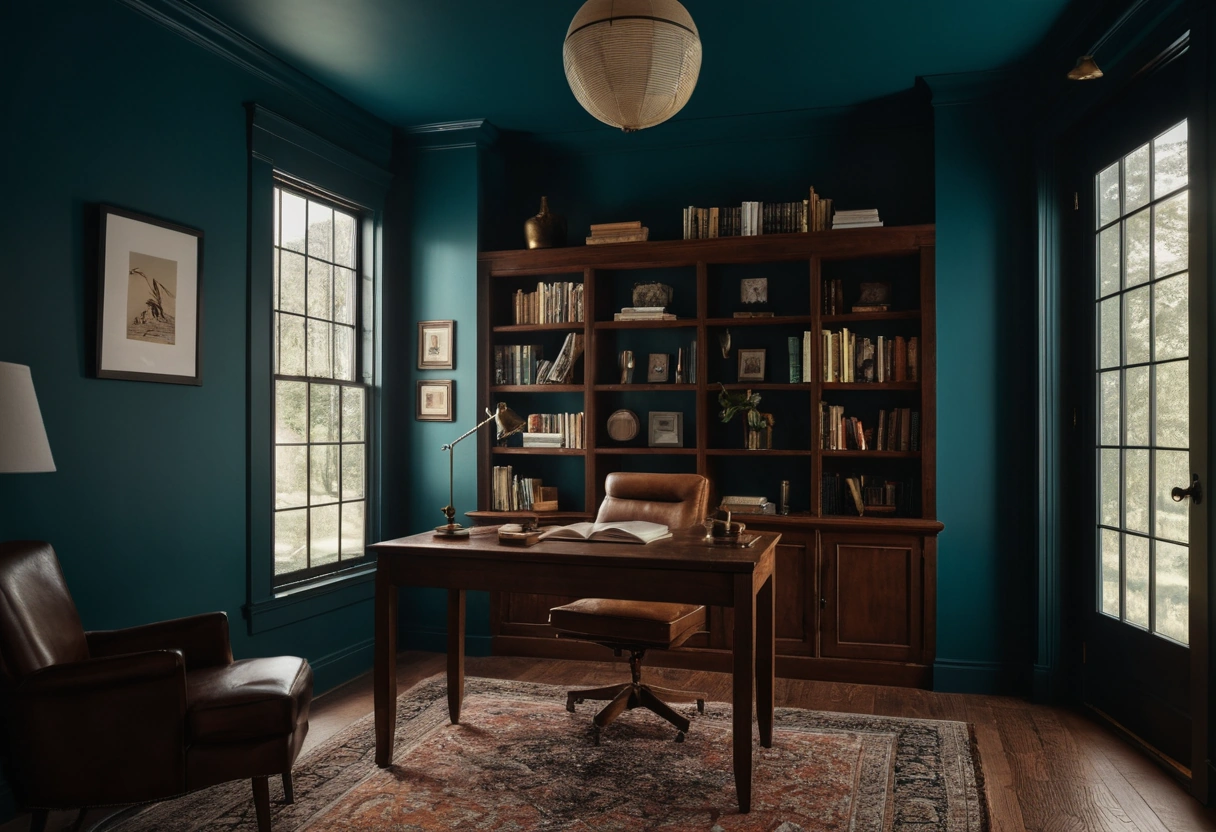
Color drenching paints every surface in a room the same color: walls, ceiling, trim, doors, and often built-ins and radiators. The standard recipe is one paint code in two or three sheens, matte for walls and ceiling, satin or semi-gloss for trim and doors. Plan on roughly 30 to 50 percent more paint and labor than a walls-only job, because the ceiling and all the woodwork join the scope.
What counts as drenching, and what doesn’t
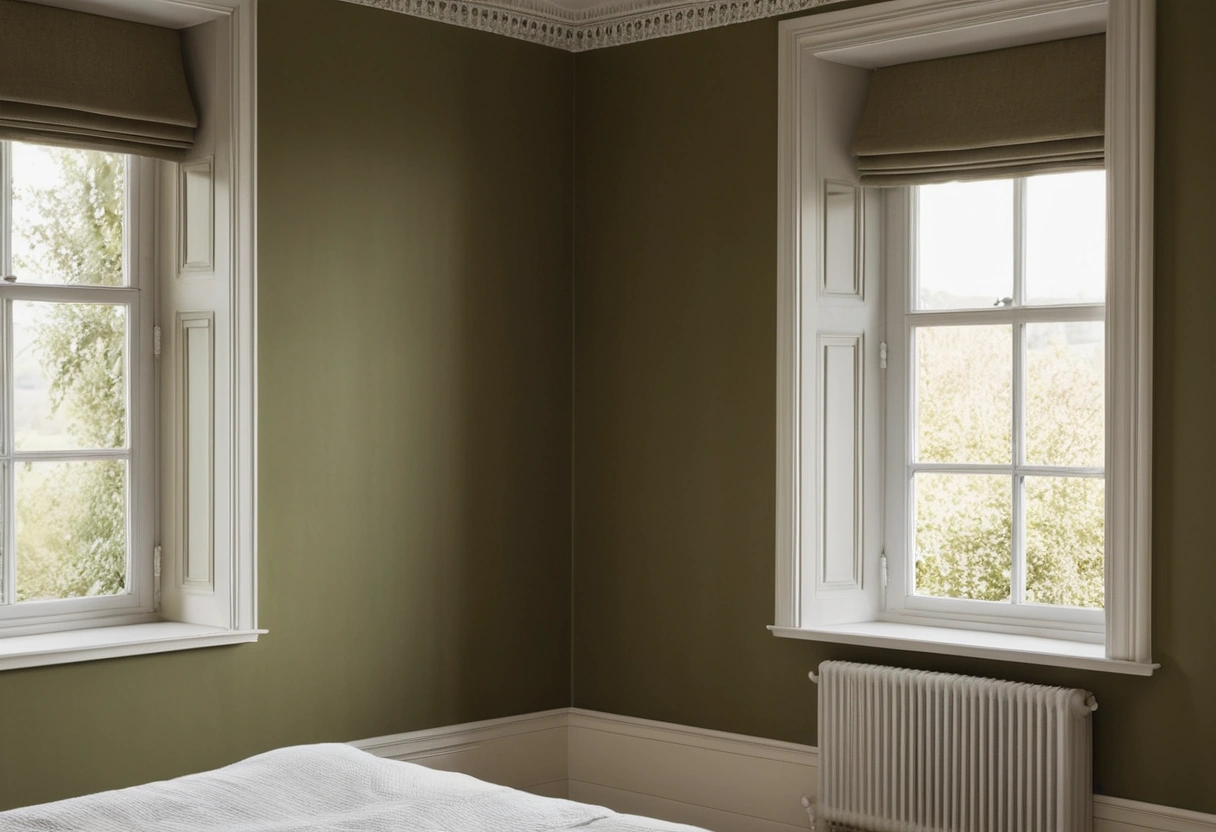
Drenching means the color goes everywhere the eye reads as architecture. Walls plus trim with a white ceiling is not a drench; the wall-to-ceiling line is the strongest contrast line in any room, and leaving it white keeps the lid on. An accent wall is the opposite move entirely: it adds a contrast line instead of removing them.
The payoff of the full treatment is that edges dissolve. Corners, crown, casings, and door panels stop reading as separate objects, the box loses its visible seams, and the room reads as a single volume. That is also the honest warning: drenching is an all-or-nothing effect, and a partial version delivers almost none of it.
Rooms where drenching earns its keep
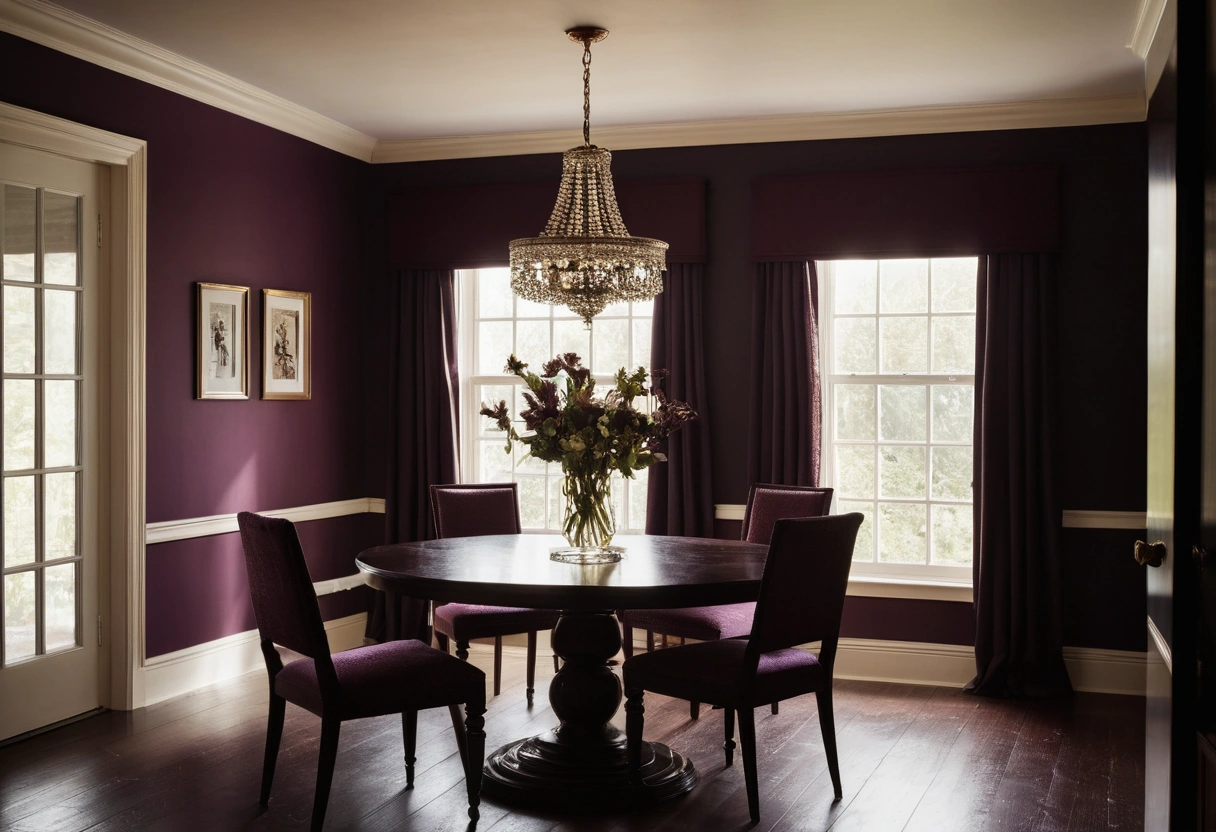
Small and awkward rooms benefit most. Powder rooms, dens, studies, bedrooms, and TV rooms take the treatment well because immersion suits how they are used. Hallways with five or six doors are a classic case: painted the wall color, the doors stop reading as clutter. Rooms with sloped ceilings, boxed beams, or chopped-up walls calm down when every plane matches, since the odd geometry stops being outlined. Low rooms collect a side benefit: with no contrast line at the cornice, the wall reads as running past where it stops, so a standard 8-foot ceiling feels taller.
Deep, moody drenches are the famous version, and the reasoning behind them is the same shadow-line logic covered in dark paint in small rooms, but drenching works in mid-tones and soft colors too. Where it struggles: big, bright rooms with little trim, where walls-plus-ceiling in one pale color just reads as unfinished, and kitchens, where cabinets dominate and the paint has few surfaces left to unify.
One color, two or three sheens
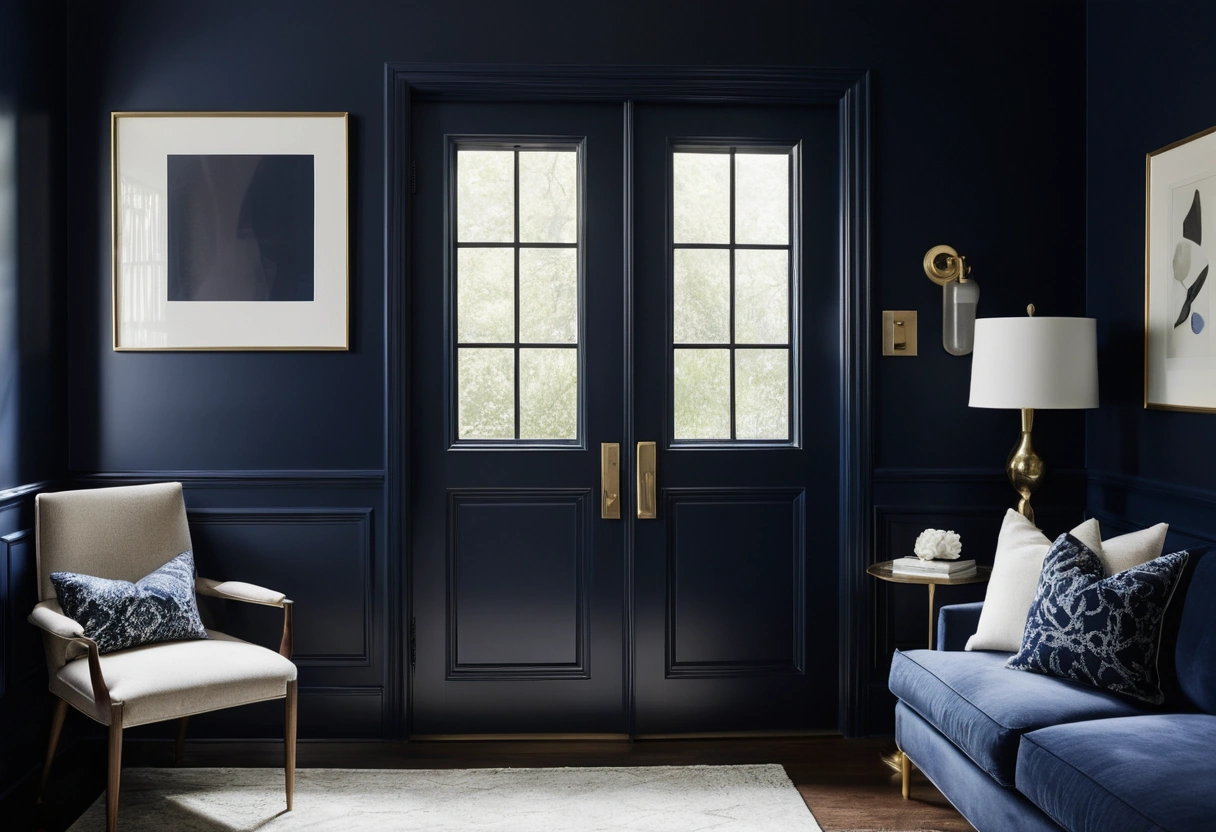
Buy one color code mixed into each product you need, and let sheen provide the quiet variation. The working combination: matte on walls, flat or matte on the ceiling, satin or semi-gloss on trim, doors, and built-ins. Because a higher sheen reads slightly darker and richer, the trim will separate from the walls just enough to keep the millwork legible, which is the entire trick.
Two cautions from the sheen ladder. Keep the ceiling at flat no matter what, because raking light across a sheened ceiling shows every seam and roller mark. And sample the color in each sheen you plan to use; the shift between matte and semi-gloss in the same code is small but visible, and it is better met on a board than on the finished room, using the routine in how to test paint colors.
Details that decide the result
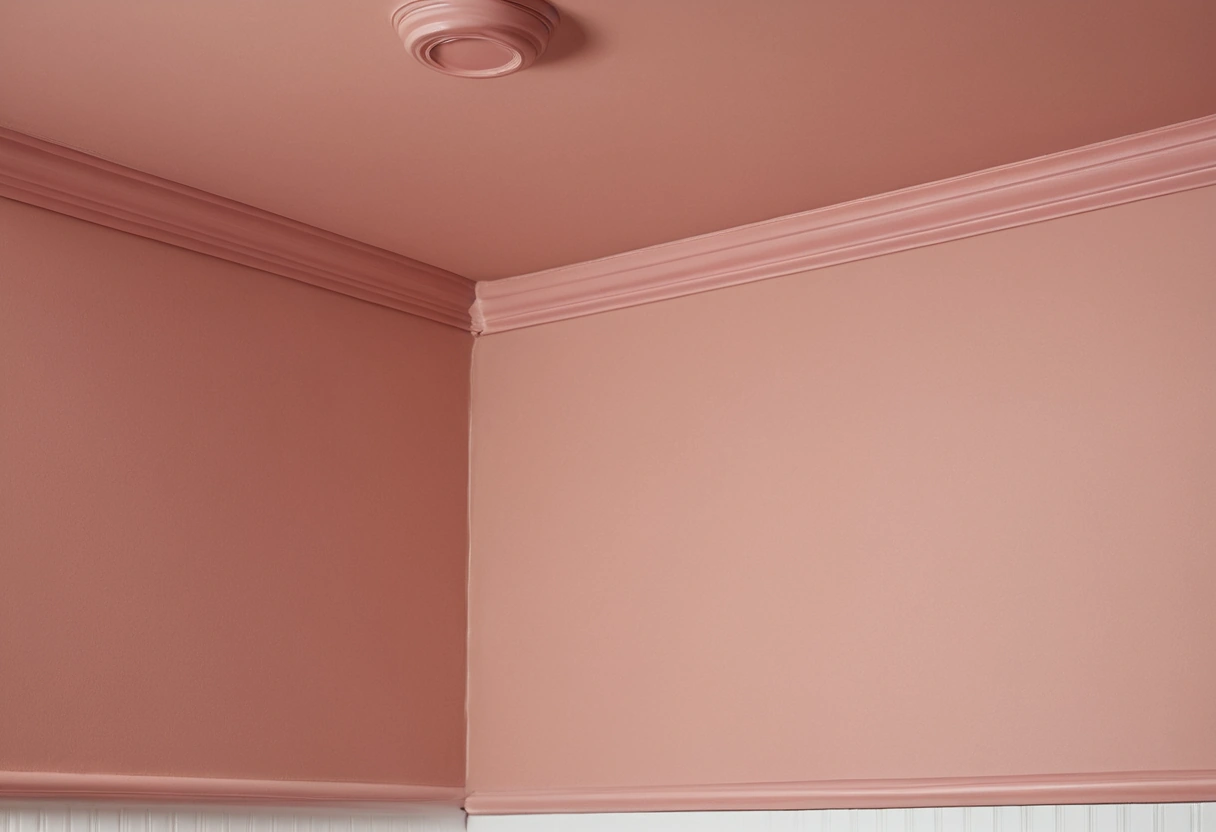
Hardware, mirrors, and lighting stand out more in a drenched room because they are the only things left that contrast. Choose them deliberately. Floors stay out of the drench; wood or tile underfoot grounds the scheme. Radiators, window sashes, and closet doors go in; skipping them leaves orphaned white shapes. Surfaces that cannot take paint, a stone fireplace, a tile surround, a run of aluminum windows, set the natural limit of the drench: one unpaintable feature reads as a deliberate counterpoint, three read as a scheme that gave up.
Light needs a plan, since walls in one color, especially a deep one, stop providing contrast and start absorbing output. A drenched room wants several sources at different heights rather than one ceiling fixture, which is exactly the ambient-task-accent structure from our layered lighting guide. Dimmers earn their cost here. Warm bulbs help too; 2700K lamps deepen and enrich a drenched color at night, which is usually the best version of the room.
Proportion-wise, a drench folds the usual 60 and 30 shares into one; furniture, textiles, art, and metals carry all the remaining contrast as the accent layer, so the 60-30-10 rule collapses to “one field plus accents.”
Budget, scope, and the exit cost
Take a 12-by-12 room with 8-foot ceilings: about 330 square feet of wall after openings, 144 of ceiling, plus trim and doors. At two coats, that is typically 3 to 4 gallons where a walls-only job takes 2, with quality interior paint commonly $40 to $80 per gallon. Hiring it out, a walls-only room that typically runs $400 to $900 lands closer to $700 to $1,400 drenched, since cutting in trim and rolling ceilings is the slow work. Treat all of these as typical broad ranges; local labor moves them. Doing it yourself, plan on two to three full days for an average bedroom: a day of prep and cutting in, a day of rolling and second coats, and the trim enamel’s longer dry times stretching the finish work.
Budget the exit, too. Repainting a deep drench back to a pale scheme usually means a stain-blocking primer plus two finish coats on every surface, so the way out costs more than the way in.
The go/no-go checklist
- The room is small, awkward, or used mostly at night: good candidate.
- The ceiling and all trim are included, or the effect evaporates.
- One code, two or three sheens; ceiling stays flat.
- Lighting comes from at least two heights, on dimmers.
- Sample boards checked in every sheen, day and night.
- Paint and labor budgeted at roughly 1.3 to 1.5 times a walls-only job, plus a primed exit path.